HOW TO START A STIHL WEED WACKER
Although all our grass trimmers and clearing saws are easy to start, the exact procedure varies depending on the model. Here we explain the start-up sequences for you. Use the following article as a guide with helpful instructions and you will learn how to start a STIHL weed eater, how to use the STIHL on & off switch and much more!
19.02.2025

Overview: starting a stihl weed eater
- The way to start a STIHL trimmer can vary depending on the model.
- We therefore recommend that you read the operating instructions thoroughly before starting.
- You should only set the brushcutter upright after completing the start-up process successfully.
If your trimmer does not start, you should first make sure that you have completed the start-up sequence correctly. If you are still unable to start the engine, we recommend having your power tool checked by a STIHL dealer.

Stihl weed wacker: how to start
Mowing with a grass trimmer is efficient and fast.
Here’s how to prepare for the job: You have familiarized yourself with the operating instructions. You have secured and checked your work environment and are wearing appropriate work clothes. You can now start using your trimmer.
Starting a battery brushcutter
First make sure that the battery is correctly positioned in the trimmer.

Hold the control handle of the device with one hand, in such a way that your thumb wraps around the handle. Hold the loop handle in the other hand, with your thumb wrapped around it.

Now use your thumb to push the release slide towards the loop handle and hold it there.

Push and hold the trigger lock down by hand. You can now let go of the release slide.

Press and hold the trigger with your index finger. The brushcutter will now accelerate, the cutting tool will begin to rotate and the brushcutter is ready for use.

Release the trigger to switch off the battery trimmer.

Starting an electric trimmer
Insert the mains plug of the trimmer into a socket.

Stand firmly and securely.

Hold the trimmer in both hands: the right hand on the control handle and the left on the loop handle.

To start the electric trimmer, press the switch on the control handle with your right hand.
If your device has a switch-on lock (FSE 60), press and hold this before pressing the switch.
Your trimmer is now ready for use.

To switch off the electric trimmer, release the switch or the switch-on lock and the switch on the control handle and remove the mains plug from the socket.

Start-up sequence using the FS 91 trimmer as an example
The start-up sequence for the FS 91 is similar to that for the FS 80, FS 85, FS 87, FS 100, FS 120, FS 130 and FS 250 trimmers.
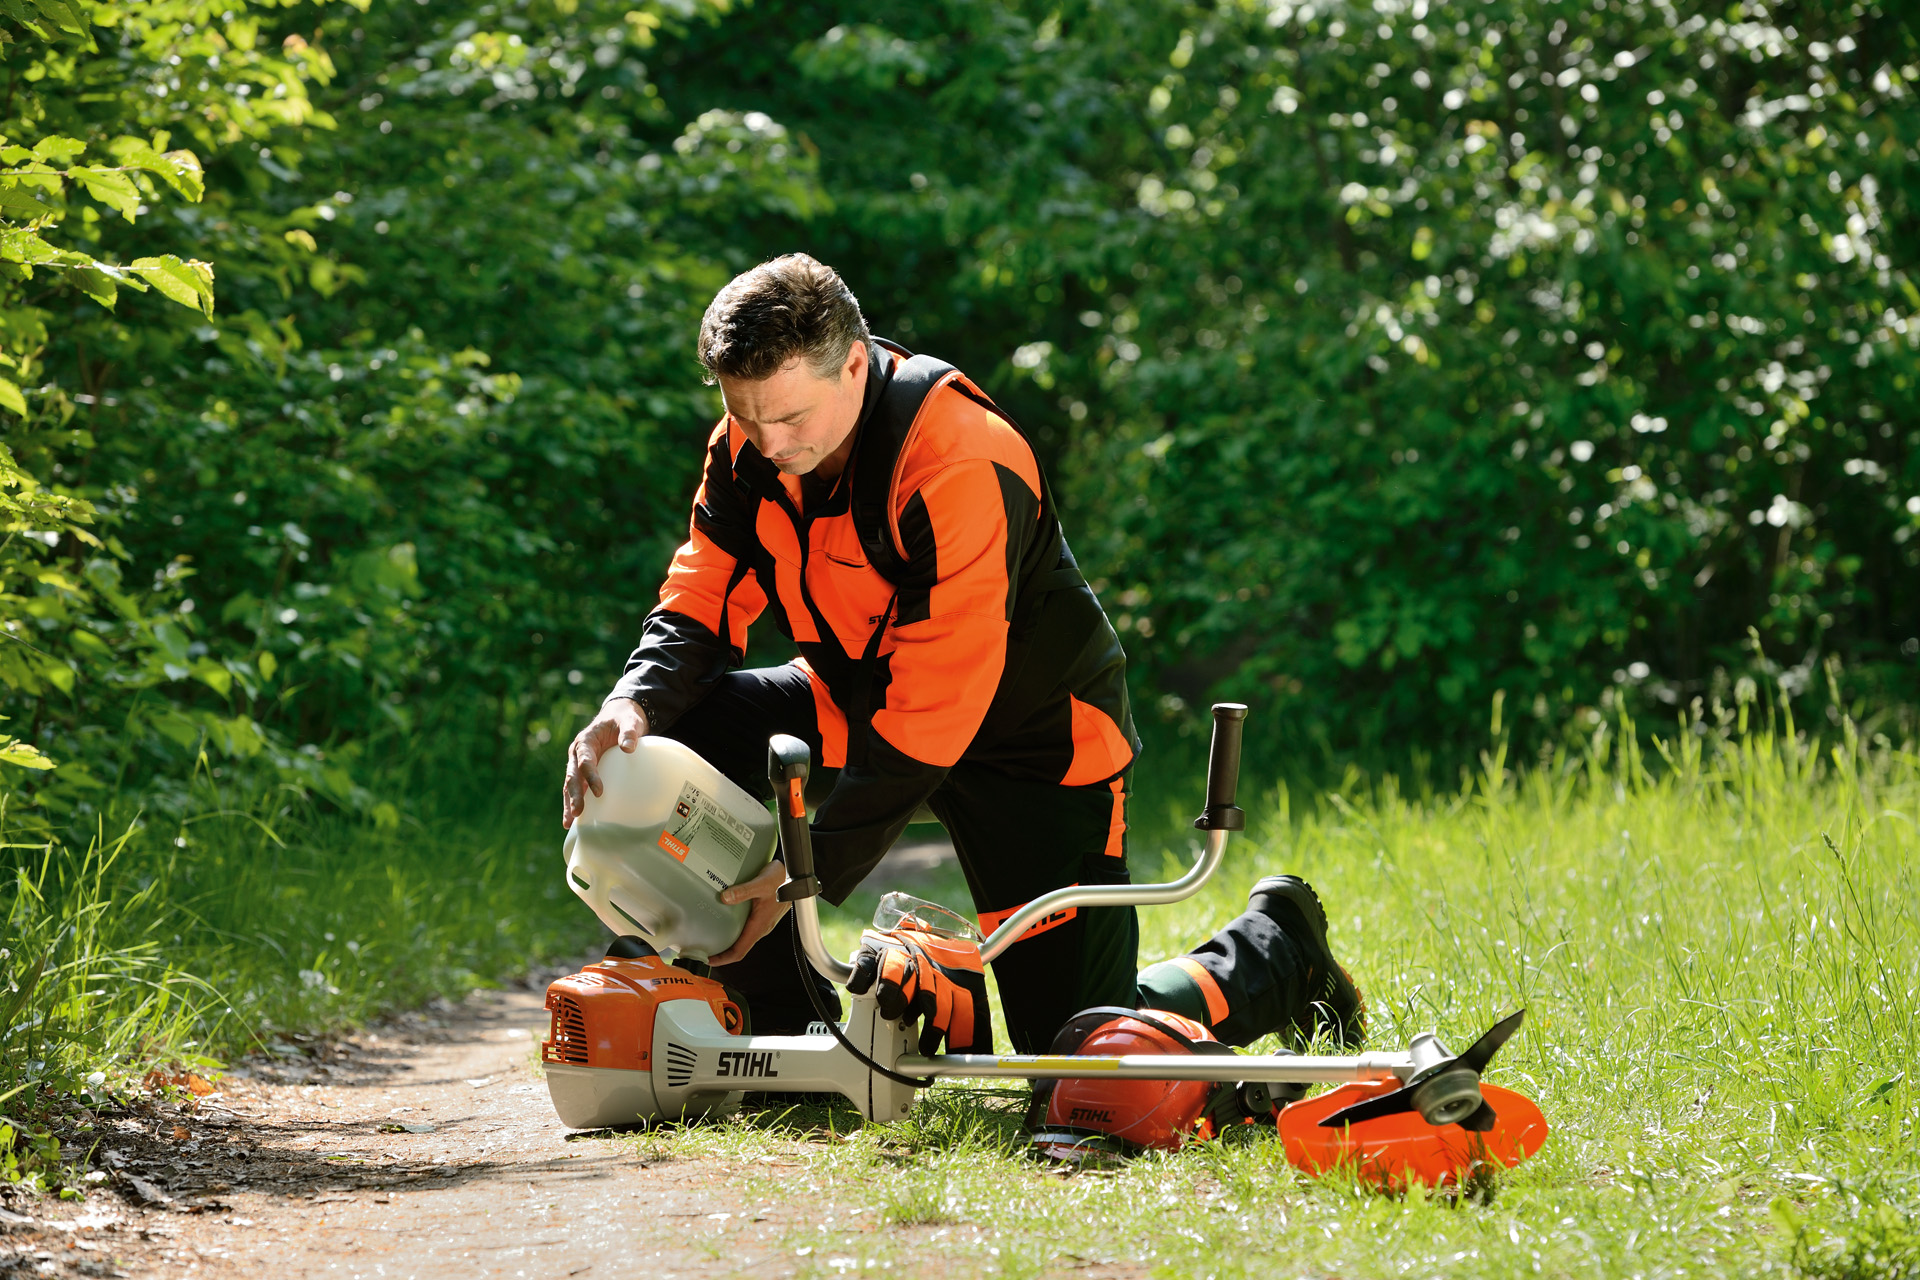
Lay the trimmer safely on the ground, resting it on the support on the engine and the cutting tool guard. The cutting tool must not be in contact with the ground or any other objects, as it may rotate during starting. Fuel the trimmer as per the operating instructions and remove transport protection from the cutting tool if it is attached. No other persons should be within 15 meters of the device. Make sure you have a secure footing.

Press the fuel pump at least five times, even if it is still filled with fuel. This reduces the number of start-up strokes required, making the start-up sequence easier.

When the engine is cold, the choke must be closed. To do this, move the choke lever to the cold start position, which is the top position.
If the engine is warm, move the choke lever to the warm start position, which is the middle position. Please also use this position if the engine is already running but still cold.

Make sure that you have a firm footing and check again that the trimmer is secure. Press the device firmly onto the ground so that it cannot tip over during the start-up sequence. Check that the cutting tool is unobstructed.

With your right hand, slowly pull out the starter grip until you feel the first stop. Then give the starter cord a quick, forceful pull, using as vertical a movement as possible. Be careful not to pull the cord out all the way to the end.
Do not let the starter grip spring back freely; instead, guide it back in the opposite direction to the pull-out direction so that the starter cord can wind up correctly.

When the engine initially starts, it will run for approximately 5 to 7 seconds. During this time, briefly press the locking lever on the multi-function handle and accelerate. This will cause the choke lever to automatically jump to the rest position (the lowest position) and the engine goes into neutral. You do not need to pull the starter handle again. The cutting tool stops rotating when the engine is idling.
If you fail to operate the throttle lever within approximately 5 to 7 seconds, the engine will stop. Now manually set the choke to the warm start position (the middle position) and pull the starter grip again until the engine starts.

Slowly pick the trimmerr up from the ground, taking care to avoid unintentional acceleration. The trimmer is now ready for use. Hook the trimmer into the universal harness and use two hands to guide it safely as you work.

Set the stop switch on the multi-function handle to the stop position, position 0. The engine will then shut off. When released, the stop switch springs back to position I.

Starting the STIHL FS 56 C-E brushcutter: an overview
The start-up sequence for the FS 56 C-E is similar to starting the FS 40 and FS 50 brushcutters.
Place the trimmer safely on the ground, resting it on the support on the engine and the cutting tool guard. The cutting tool must not touch the ground or any other objects, as it may rotate during starting. Fuel the trimmer as per the operating instructions and remove transport protection from the cutting tool if it is attached. No other persons should be within 15 meters of the device. Make sure you have a secure footing.

Press the fuel pump at least five times, even if it is still filled with fuel. This reduces the number of start-up strokes required, making the start-up sequence easier. Your STIHL FS38 won't start? Look up possible reasons in the user's instructions or contact your local STIHL retailer for assistance.

When the engine is cold, the choke must be closed. To do this, move the choke lever to the cold start position, which is the top position.
If the engine is warm, move the choke lever to thewarm start position, which is the middle position. Please also use this position if the engine is already running but still cold.

Make sure that you have a firm footing and check again that the brushcutter is secure. Press the device firmly onto the ground so that it cannot tip over during the start-up sequence. Check that the cutting tool is unobstructed.

With your right hand, slowly pull out the starter grip until you feel the first stop. Then, give the starter cord a quick, forceful pull. For machines with ErgoStart, pull the starter cord gently and with a constant force, using as vertical a movement as possible. Be careful not to pull the cord out all the way to the end.
Do not let the starter grip spring back freely; instead, guide it back in the opposite direction to the pull-out direction so that the starter cord can wind up correctly

When the engine initially starts, it will run for approximately 5 to 7 seconds. During this time, briefly press the locking lever on the multi-function handle and accelerate. This will cause the choke lever to automatically jump to the rest position (the lowest position) and the engine goes into neutral. You do not need to pull the starter handle again. The cutting tool stops rotating when the engine is idling.
If you fail to operate the throttle lever within approximately 5 to 7 seconds, the engine will stop. Now manually set the choke to the warm start position (the middle position) and pull the starter grip again until the engine starts.

Slowly pick trimmer up from the ground, taking care to avoid unintentional acceleration. The trimmer is now ready for use.

Set the stop switch on the multi-function handle to the stop position, position 0. The engine will then shut off. When released, the stop switch springs back to position I.

Starting STIHL Weed Eater FS 38 trimmer: an overview
The FS 38 start-up sequence is similar to starting the FS 45 and FS 55 C-E trimmers.
Lay the trimmer safely on the ground, resting it on the support on the engine and the cutting tool guard. The cutting tool must not touch the ground or any other objects, as the tool may rotate during starting. Fuel the brushcutter as per the operating instructions and remove transport protection from the cutting tool if it is attached. No other persons should be within 15 metres of the device. Make sure you have a secure footing.

Set the stop switch on the multi-function handle to operating position I.

Press and hold the throttle trigger lockout. At the same time, push the throttle lever until the catch beside the tongue on the housing engages.

Once the throttle lever is engaged, you can release the throttle lever and then the throttle trigger lockout. The appliance is now in the starting throttle position.

Press the fuel pump at least five times, even if it is still filled with fuel. This reduces the number of start-up strokes required, making the start-up sequence easier.

If the engine is cold, move the choke lever to the cold start position.

Make sure that you have a firm footing and check again that the trimmer is secure. Press the device firmly onto the ground so that it cannot tip over during the start-up sequence. Check that the cutting tool is unobstructed.

With your right hand, slowly pull out the starter grip until you feel the first stop. Then, on machines without ErgoStart, give the starter cord a quick, forceful pull. For machines with ErgoStart, pull the starter cord gently and with a constant force, using as vertical a movement as possible. Be careful not to pull the cord out all the way to the end.
Do not let the starter grip spring back freely; instead guide it back in the opposite direction to the pull-out direction so that the starter cord can wind up correctly.

When the engine starts, or at the latest after the fifth start, open the choke by moving the choke lever.

Pull the starter cord once again. The engine will now start.
If your trimmer still does not start, check the procedure again using the operating instructions. In the unlikely event that the trimmer still cannot be started, contact your dealer, who will be able to provide you with advice and assistance.

As soon as the engine starts, press the throttle lever until the tongue disengages. The engine will now idle and the cutting tool will stop rotating.

Slowly pick the trimmer up from the ground, taking care to avoid unintentional acceleration. The trimmer is now ready for use.

Set the stop switch on the multi-function handle to the stop position, position 0.

Note
These guides are only intended as a supplement to the operating instructions for your STIHL trimmer. The videos, images and descriptions only refer to one type of brushcutter by way of example. Other trimmer types may have different controls. Before using your trimmer, please familiarize yourself with the power tool, read the operating instructions thoroughly and contact your dealer directly if you have any questions.
Operating instructions for STIHL chainsaws
You can easily download theoperating instructions for your STIHL brushcutter here.


